Internet Connectivity
In this section, we will deploy an Internet Gateway (IGW) and NAT Gateway into our VPC.
An Internet Gateway establishes outside connectivity for EC2 instances that will be deployed into the VPC and provides both inbound and outbound connectivity to workloads running in public subnets whereas a NAT Gateway provides outbound connectivity for workloads running in private subnets.

Deploy an Internet Gateway
-
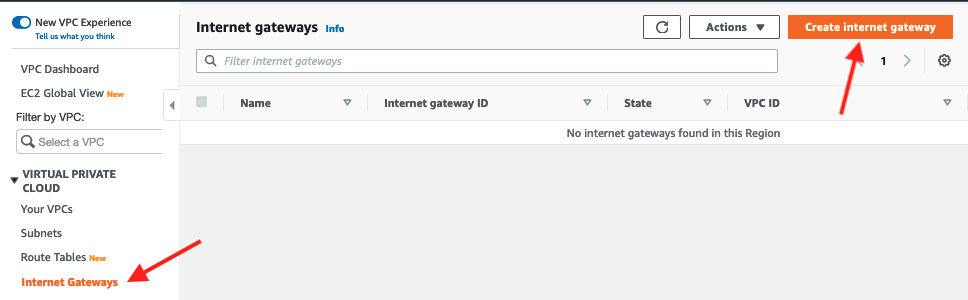
In the left hand panel click on Internet Gateways and click on Create internet gateway
-
Enter
VPC A IGWas the name and click Create internet gateway in the bottom right corner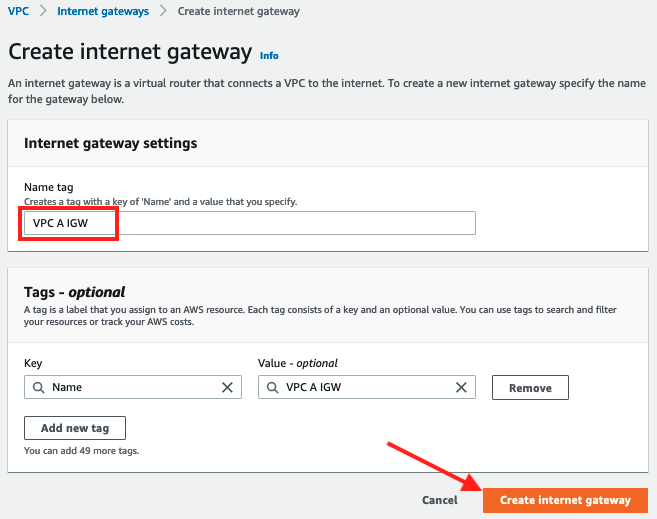
-
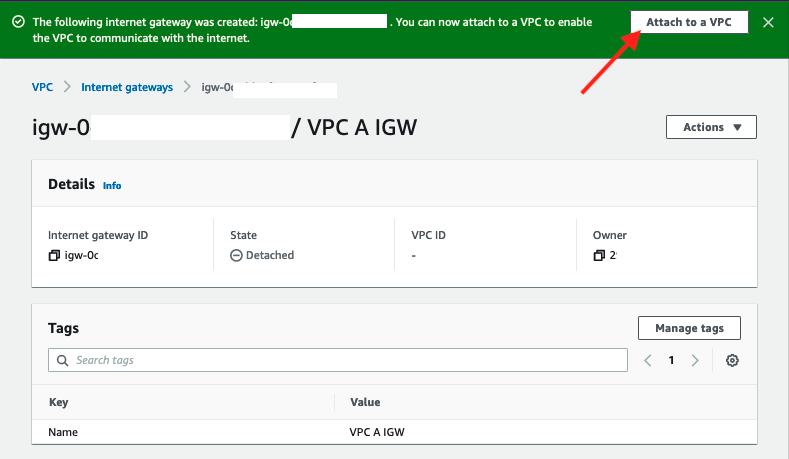
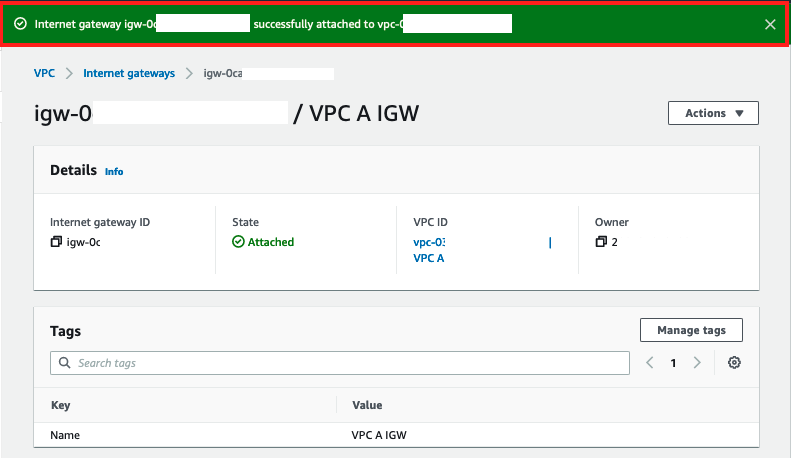
On the success screen for the newly created IGW and click on Attach to VPC:
-
Select
VPC Afrom the dropdown list for Available VPCs and click Attach internet gateway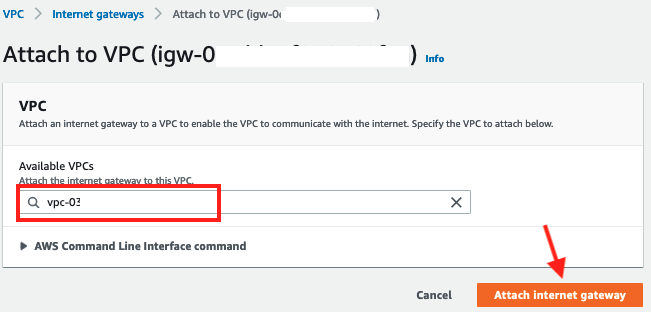
-
The Internet Gateway should attach successfully.
We now have an internet access point for our VPC, but in order to utilize the newly created Internet Gateway, we need to update VPC routing tables to point the default routes for our public subnets to this Internet Gateway.
Update Route Table for Public Subnets
-
In left hand panel of the VPC Dashboard click on Route Tables and select
VPC A Public Route Table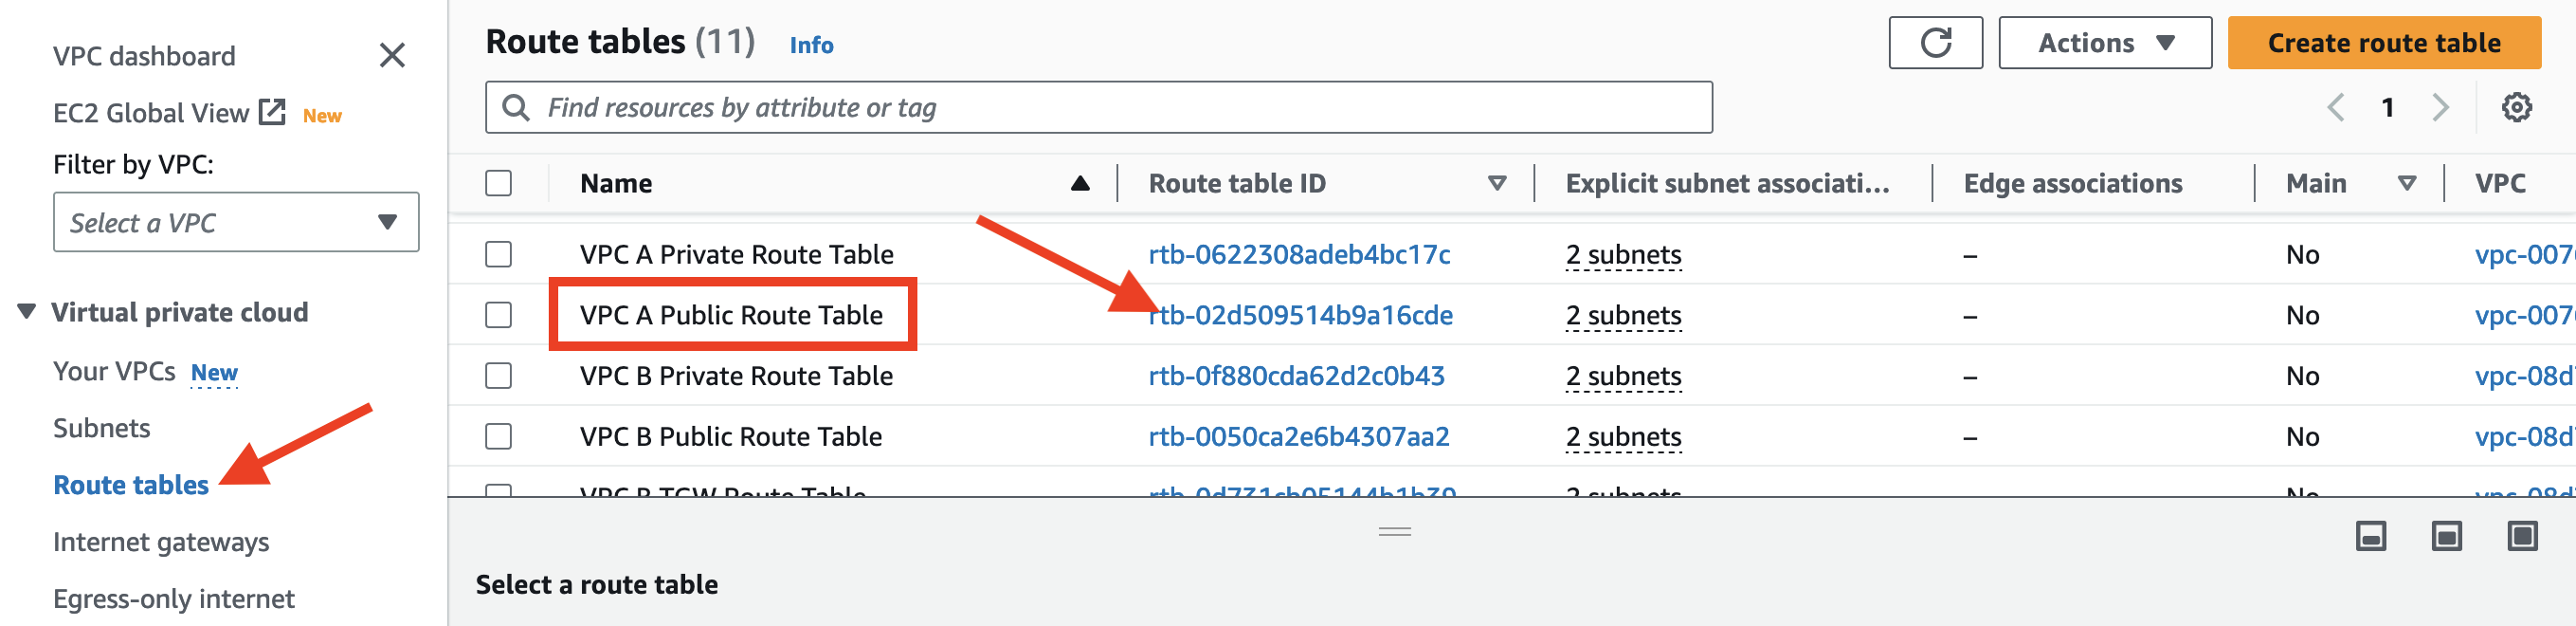
-
Scroll down to the Routes tab
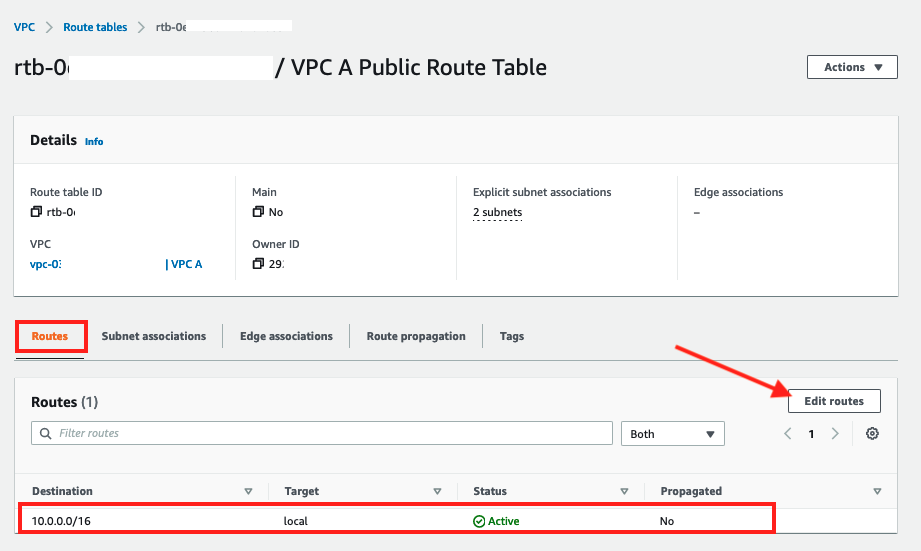
As you can see there is only a local route, so we're going to enable internet access by adding a route to the Internet Gateway
-
Click on Edit Routes
-
In the resulting screen
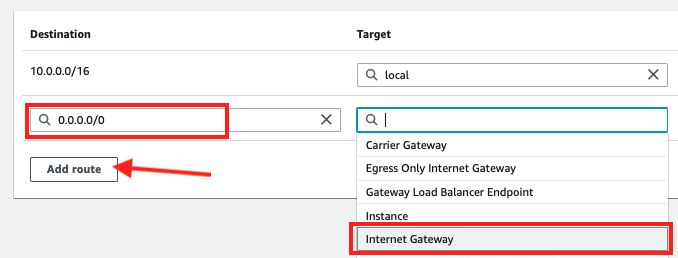
- Click on Add route
- Enter
0.0.0.0/0in the Destination - Select
Internet Gatewayfrom the Target dropdown
-
Choose
VPC A IGW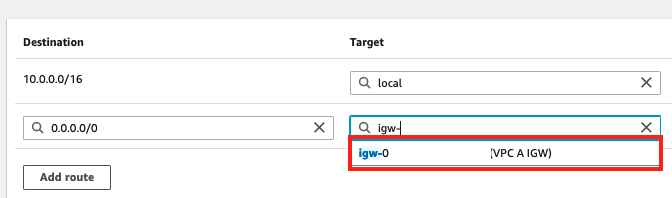
-
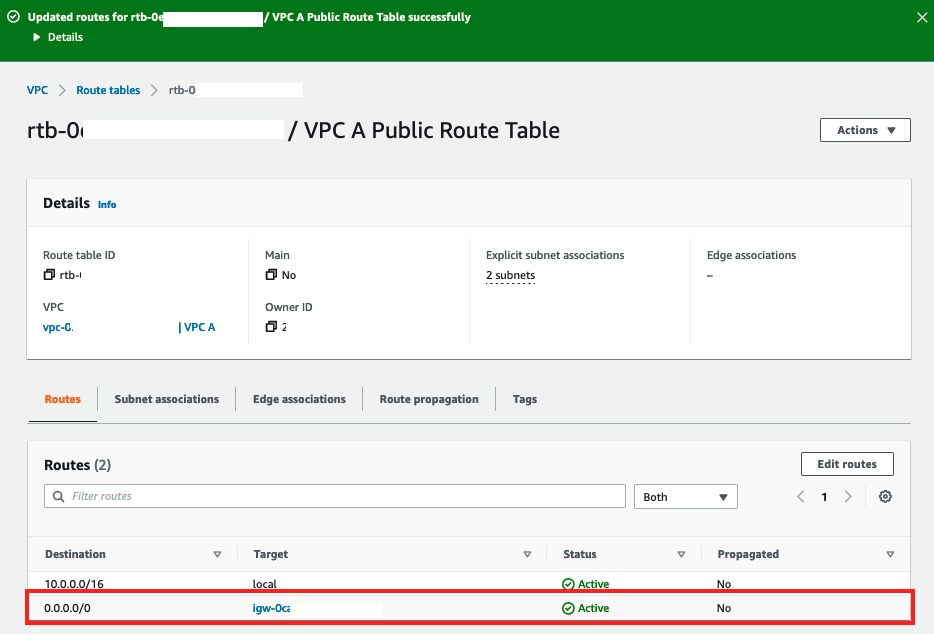
Click Save changes and confirm that a new route has been added to the Routes tab
Next we will add outbound connectivity from the private subnets by deploying a NAT Gateway in a public subnet for use by workloads that should not be directly exposed to the internet.
Create NAT Gateway
-
In the left hand panel of the VPC Dashboard click on NAT Gateways and click on Create NAT gateway

-
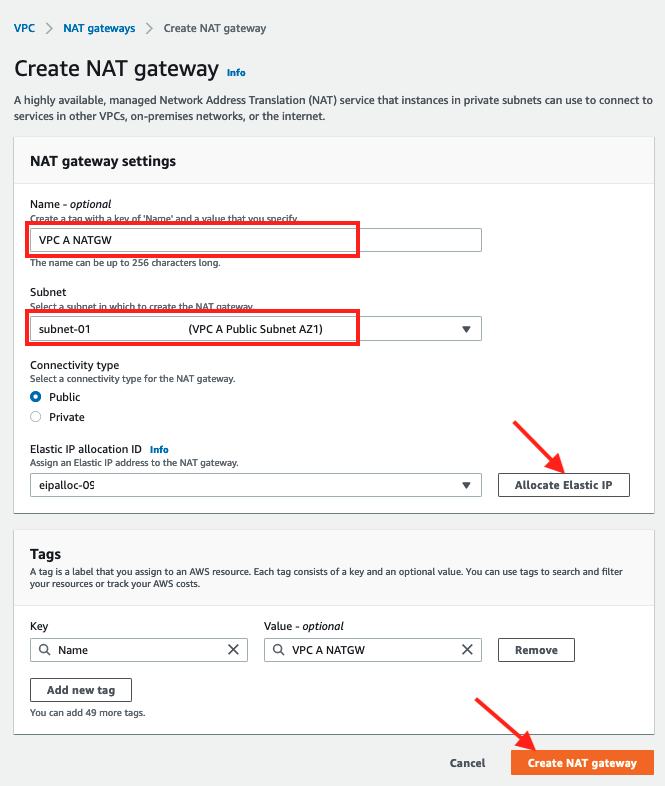
In the Create NAT gateway screen
- Enter
VPC A NATGWas the name - Choose
VPC A Public Subnet AZ1 - Click Allocate Elastic IP
- Click Create NAT gateway
- Enter
-
Upon creation the NAT Gateway details are displayed
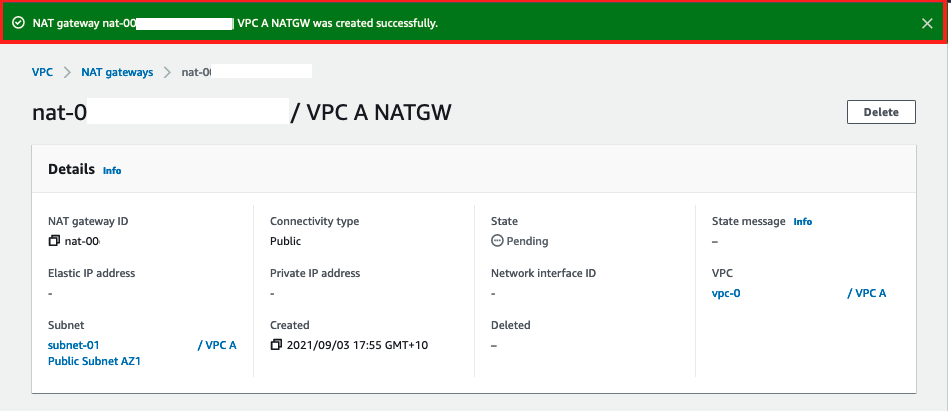
Important
In this workshop, we only created one NAT Gateway in AZ1. It is best practice to create a NAT Gateway in each AZ that is utilized.
Update Route Table for Private Subnets
Now that we have a NAT Gateway in a public subnet we need to create a route to it from the private subnets and we will do that by adding an entry to the Route Table for the private subnets.
-
In the left hand panel of the VPC Dashboard click on Route Tables
-
Select
VPC A Private Route Table, scroll down to the Routes tab and click on Edit routes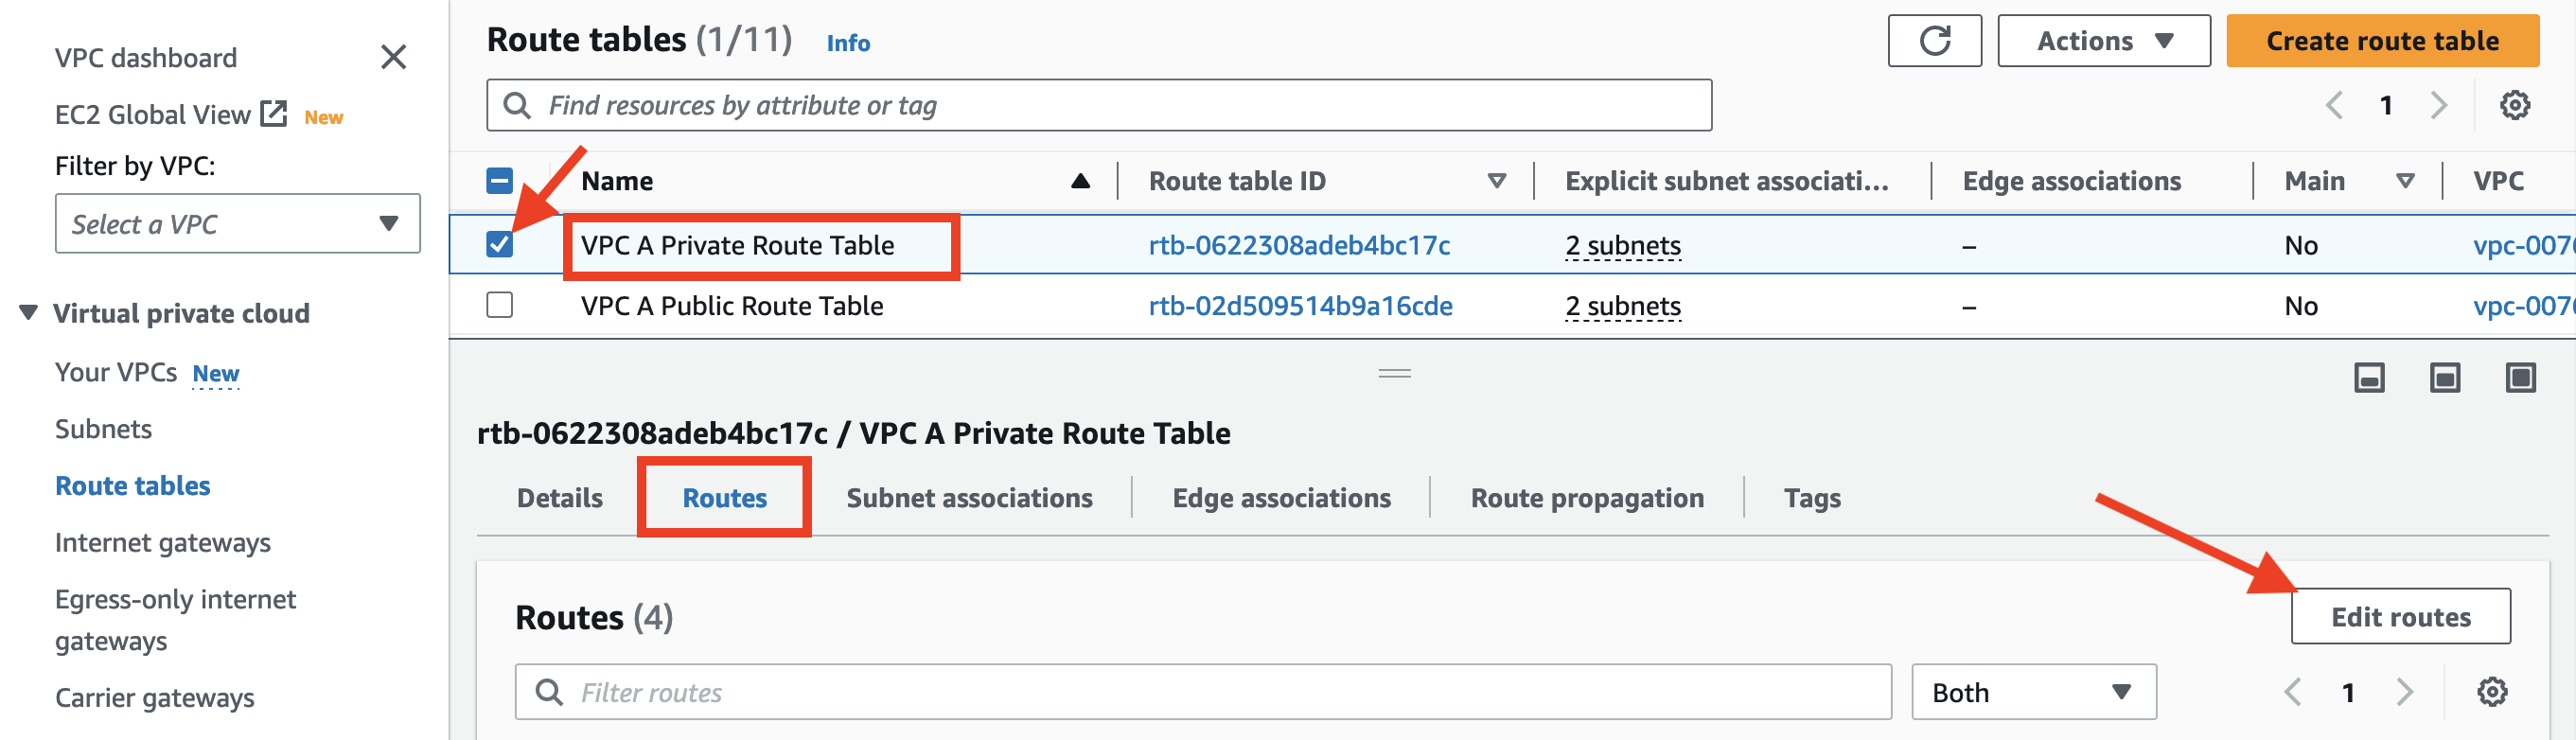
-
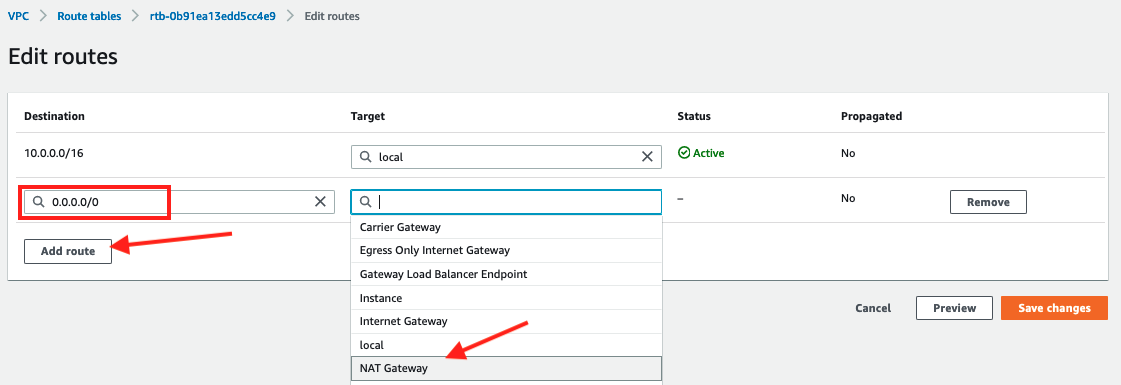
In the Edit routes screen
- Click on Add route
- Enter
0.0.0.0/0in the Destination - Select
NAT Gatewayfrom the Target dropdown
-
Choose
VPC A NATGWand click on Save changes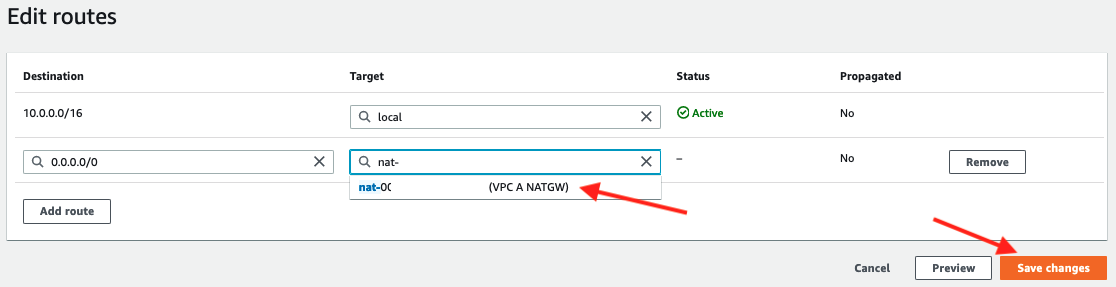
-
Confirm the new route appears in the Routes tab of the resulting screen

We have now gone through the bread and butter of AWS networking and built a networking foundation of public and private subnets across two availability zones with internet access.