Intro
VPC Peering & Transit Gateway Overview
A VPC peering connection is a networking connection between two VPCs that enables you to route traffic between them using private IPv4 addresses or IPv6 addresses. Instances in either VPC can communicate with each other as if they are within the same network. You can create a VPC peering connection between your own VPCs, or with a VPC in another AWS account. The VPCs can be in different regions (also known as an inter-region VPC peering connection).
VPC Peering is a useful approach to connect a small number of pairs of VPCs however managing point-to-point connectivity across many VPCs without the ability to centrally manage the connectivity policies, can be operationally costly and cumbersome. For on-premises connectivity, you need to attach your AWS VPN to each individual VPC. This solution can be time consuming to build and hard to manage when the number of VPCs grows into the hundreds.
AWS Transit Gateway is a service that enables you to connect VPCs and on-premises networks to a single gateway. As you grow the number of workloads running on AWS, you need to be able to scale your networks across multiple accounts and Amazon VPCs to keep up with the growth.
In this lab, you will learn how to peer VPCs, and also create a Transit Gateway, attach VPCs, and configure routing with the Transit Gateway route tables.
Important
If you are running this lab in your own AWS Account, it is recommended for all lab resources to be created in us-east-1 region so that the screenshots match your environment. This is not mandatory.
For this lab we will use CloudFormation to automatically build VPCs.
Prerequisites
If you have not completed the VPC Fundamentals section...
-
If you have not completed the previous labs and you are starting at this step then load this CloudFormation template to create all three VPCs:
-
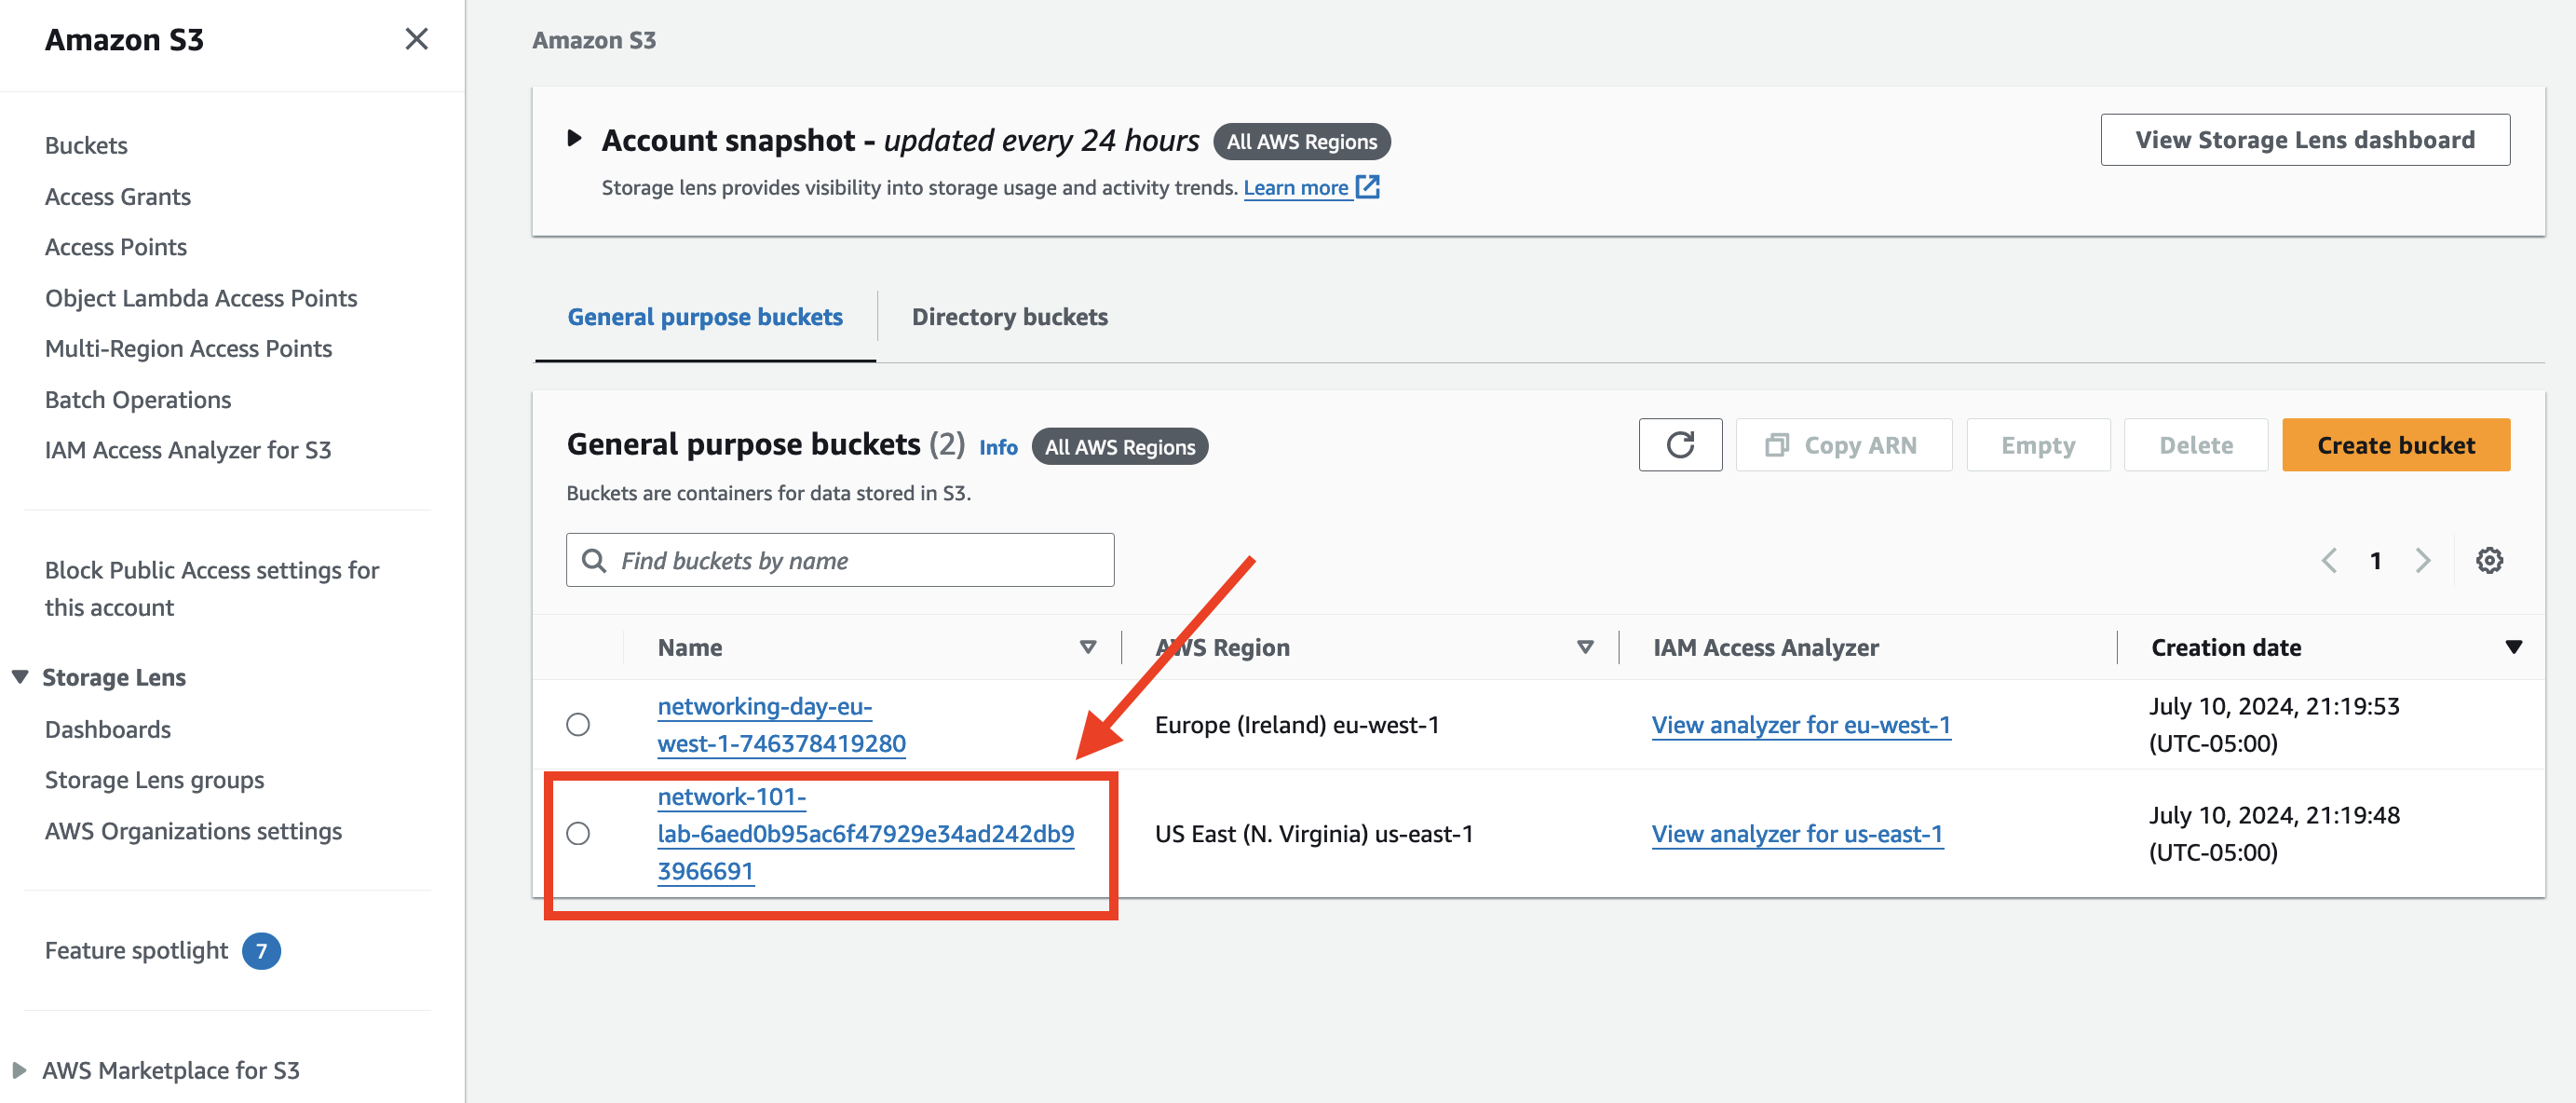
Navigate to S3 in the AWS Console: S3 Console Link
- Find the bucket that begins with network-101:
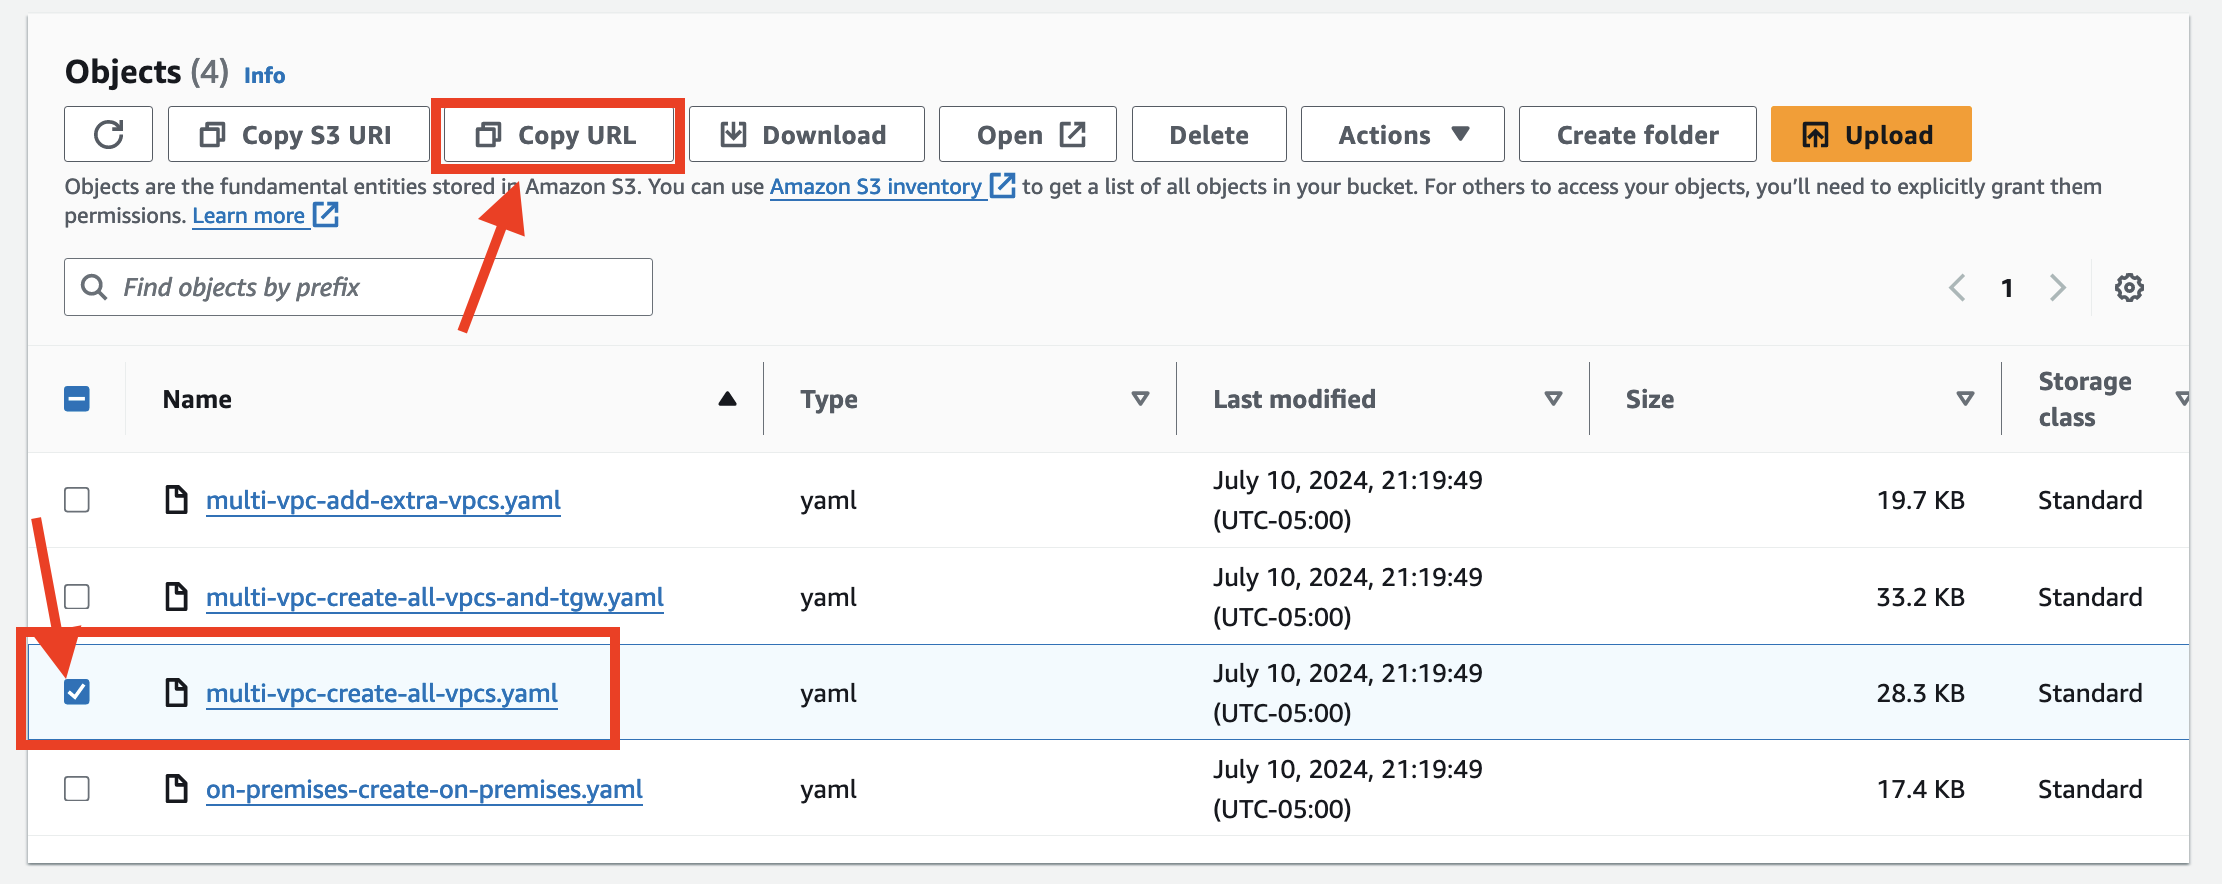
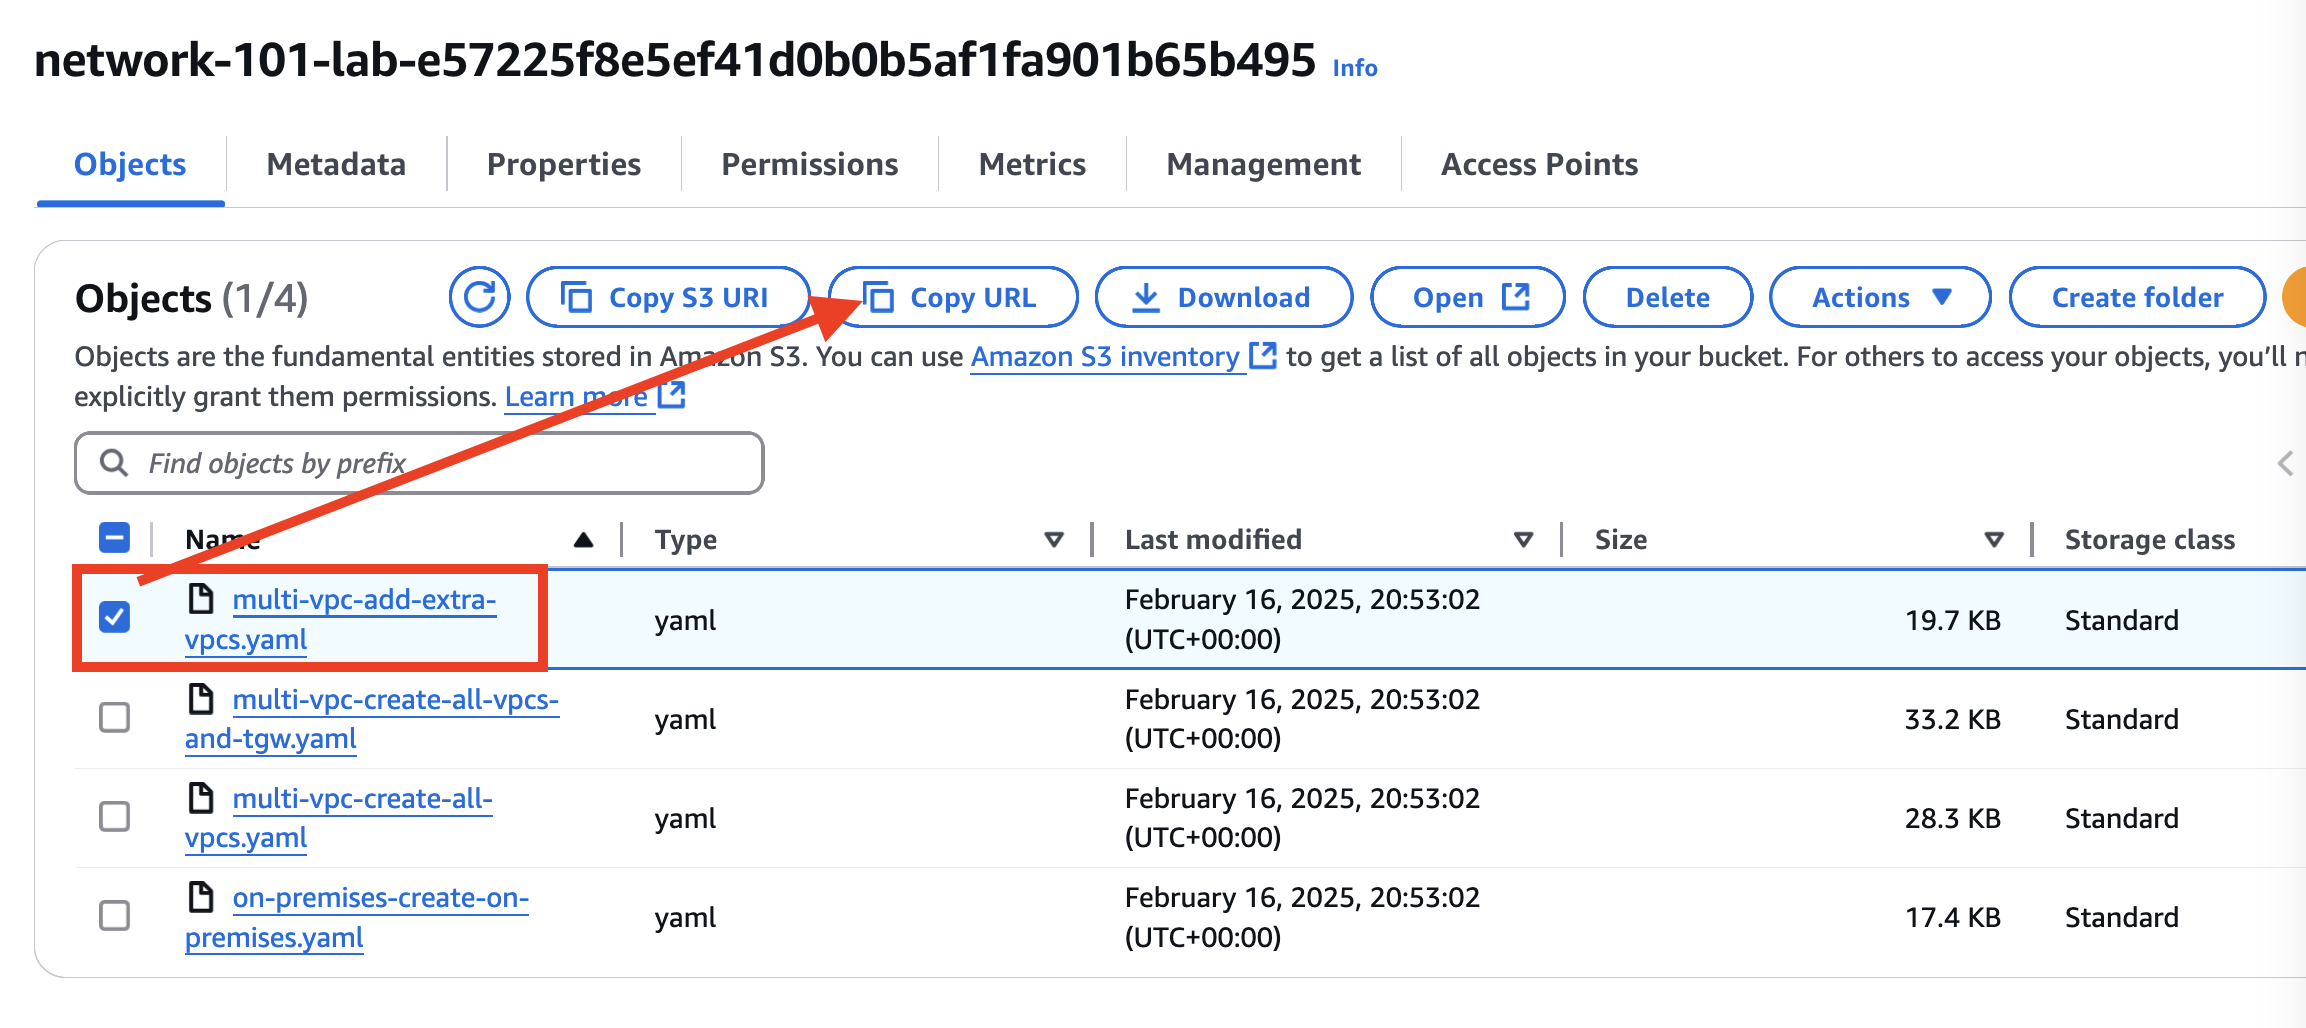
- Copy the URL of multi-vpc-create-all-vpcs.yaml file
Make sure that you update the Parameter **ParticipantIPAddress** on the **Specify stack details** screen.
-or-
If you have completed the VPC Fundamentals section...
-
If you have completed the VPC Fundamentals lab and already have one VPC set up then load this CloudFormation template to create two additional VPCs:
-
Navigate to S3 in the AWS Console: S3 Console Link
- Find the bucket that begins with network-101:
- Copy the URL of multi-vpc-add-extra-vpcs.yaml file
Make sure that you update the Parameter **ParticipantIPAddress** on the **Specify stack details** screen.
Important
If the deployment of the CloudFormation template fails with the error that starts with Value (NetworkingWorkshopInstanceProfile) for parameter iamInstanceProfile.name is invalid., please make sure you have completed the prerequisites section
Important
If the deployment of the CloudFormation template fails due to the Elastic IP address limit being reached and you are using your own AWS account, please refer to the Elastic IP Quota section in Prerequisites - Your own AWS Account.
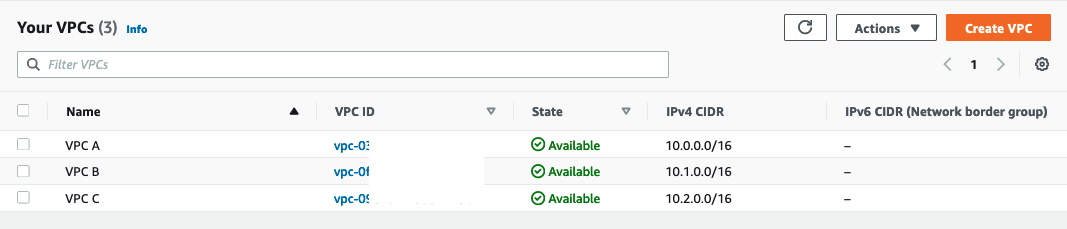
Now go to Your VPCs and take a look.
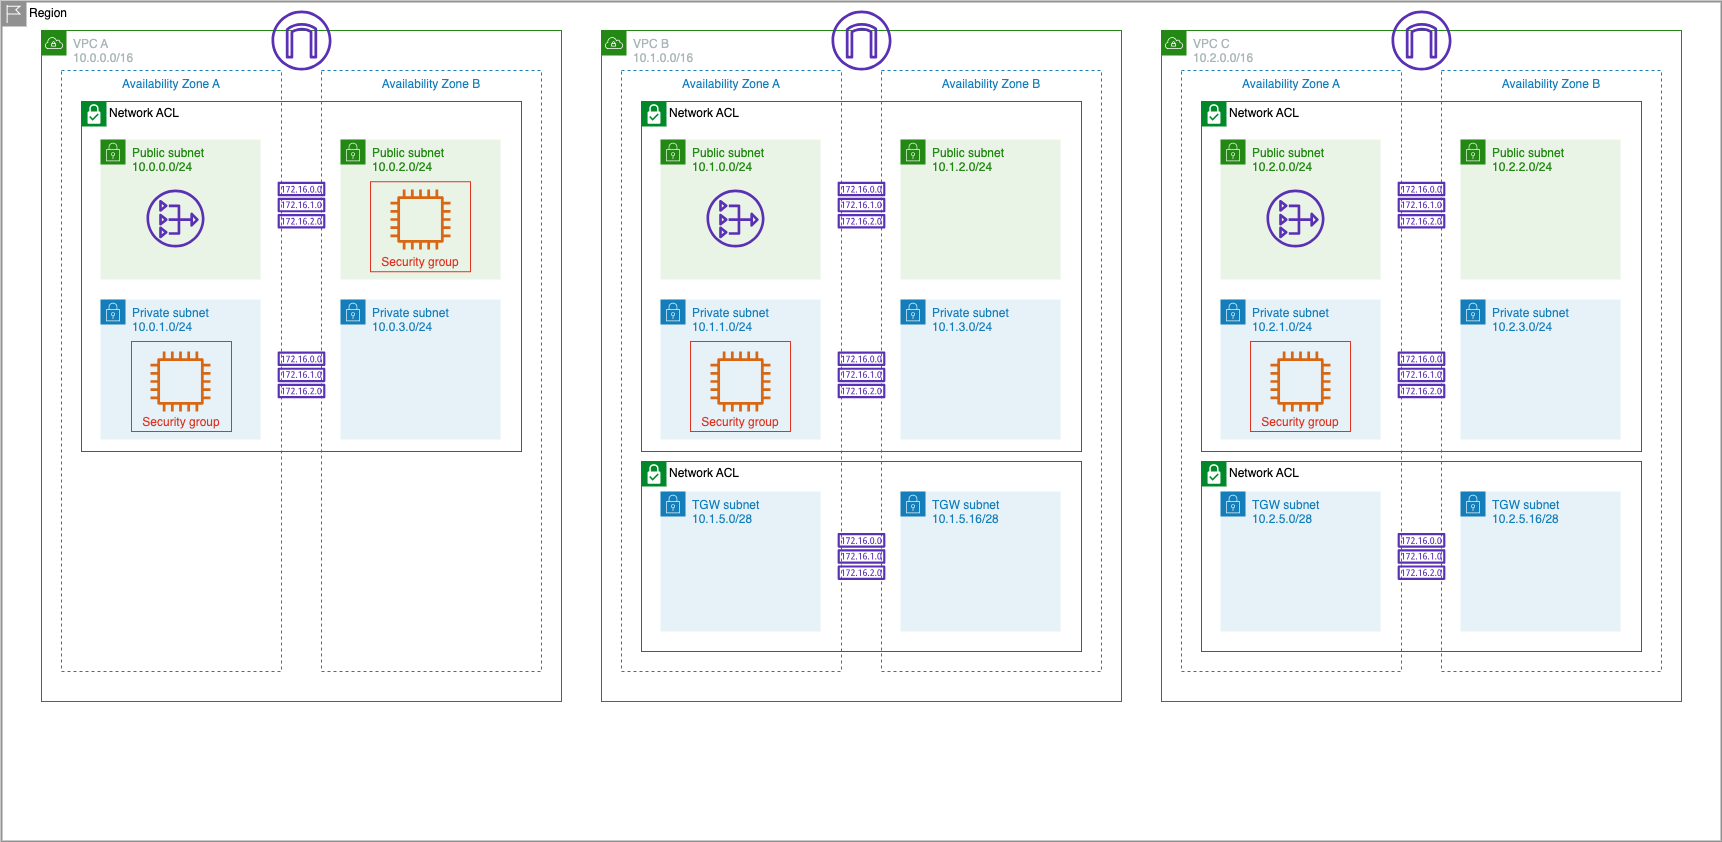
You will find two new VPCs VPC A, VPC B and VPC C with CIDR blocks of 10.0.0.0/16, 10.1.0.0/16 and 10.2.0.0/16. Each VPC has two public and two private subnets.
Each VPC has an EC2 instance in the private subnet located in the us-east-1a availability zone.

The environment now looks something like the following. You may notice that VPC A is missing the TGW subnets. You will be creating these in the Transit Gateway section.